6 rules to follow up for a real tea time

Tea Time

6 rules to follow up for a real tea time

In 1840, during the reign of Queen Victoria of Great Britain, the diner was usually served around 8:30 p.m. to 9 p.m. The story goes that Anne, the seventh Duchess of Bedford established the tradition of The Afternoon Tea to fill her 4pm hunger pangs. Originally, it was to accompany afternoon tea with a light snack that, over time, became more and more elaborate: scones, small sandwiches and sweet bites.

Mamie reveals her secrets to you to impress your guests!

1 – The invitations

Have fun creating colorful invitations for your guests! Verbal, paper, electronic, whatever the form as long as it is festive and full of colors with British inspirations of course!

2 – The choice of teas and beverages
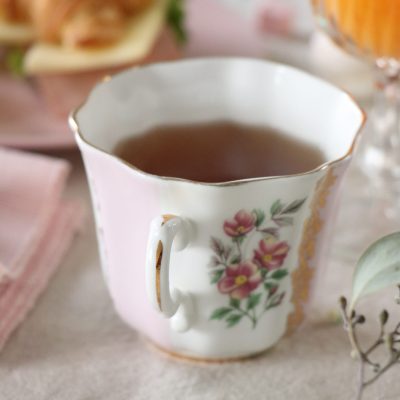
thé

Darjeeling, jasmine, peppermint, green tea, and black tea, cold pressed juice. Milk for a nice drop in the tea or for children.

Making tea :

1. Select a loose leaf tea such as English Breakfast or Earl Grey.
2. Boil fresh water in the kettle.
3. Pour some hot boiling water into your teapot and swirl to heat it, then throw it away.
4. Add 1 teaspoon of tea leaves to the teapot for each cup of water.
5. As soon as the water is at the recommended temperature (85-90 °C or 185-194°F), pour it over the leaves in the teapot. Do not let the water boil for too long which makes it lose its oxygen and therefore its freshness.
6. Let the tea steep for 2 to 5 minutes (the taste will be more or less strong). It is easy to dilute the tea to taste using the pitcher of hot water on the table.

3 –  The meal

Several possibilities are available to you, however, think that you will have to satisfy everyone’s desires! You can do everything at home or go to your favorite local shops. You choose.

Good to know: throughout the year, Mamie offers various flagship afternoon tea products.

There are some ideas:

Finger sandwiches
Scones
Victoria Sponge cake
Muffin
Cookies
Artisan bread
Meringues
Orange marmalade – jam
Seasonal fruits
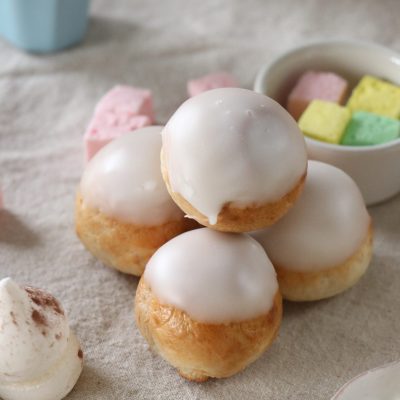
gateau tea

4 –  The animations

les animations

You can allow your children to guess the tastes found in the preparations made for the meal or else launch the competition for the most beautiful hat, consisting of colored paper, tassels, felts, glitter, feathers ! All fantasies are allowed!

5 –  The table arrangement

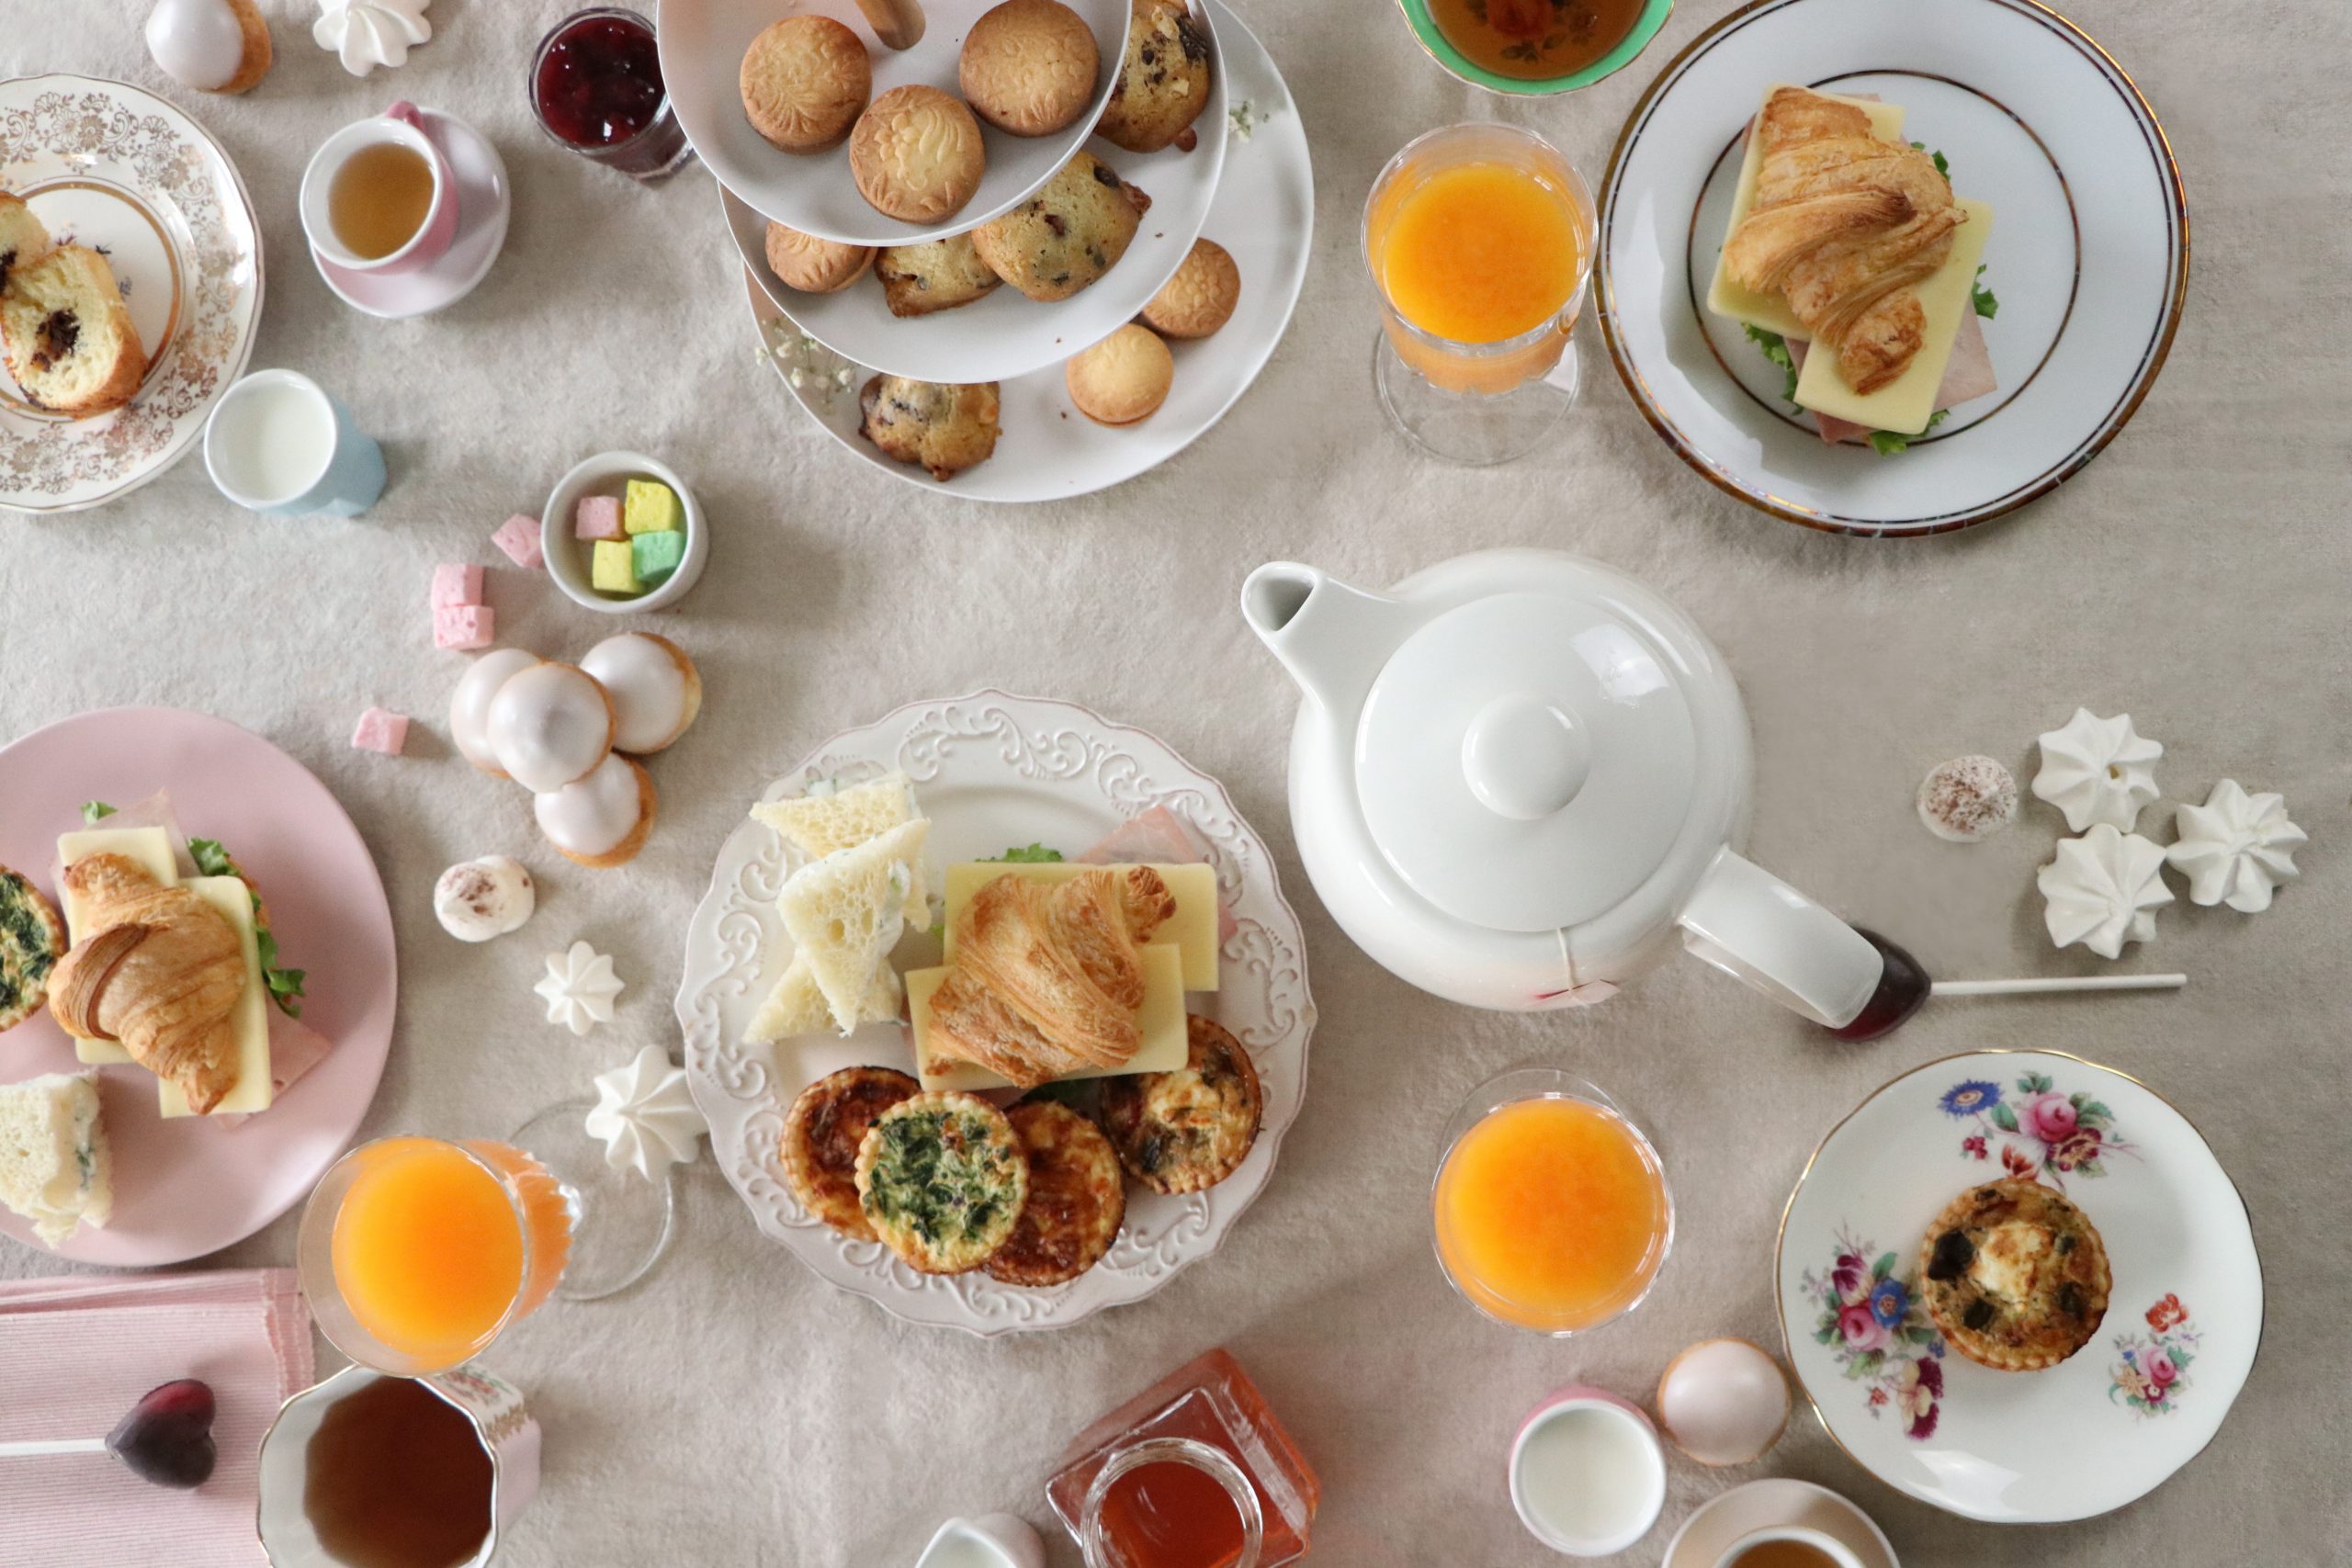
The tea tray should hold a sugar bowl with sugar cubes, a container with milk, a tea strainer, a bowl for the used tea leaves, a pitcher of hot water (to dilute the tea if required), a saucer with a fork containing also lemon wedges.

The tea table must contain all the dishes to drink tea (cups, saucers, spoons), for snacking (dessert forks, small plates, napkins) and all the elements to accompany the meal (jar of jam, clotted cream or heavy whipped cream).

The tea tray should be placed at one end of the table. On one side, arrange the tea cups, saucers and teaspoons. On the other side, place the stacked plates, forks and napkins. Plates of food should be placed in the middle of the table.
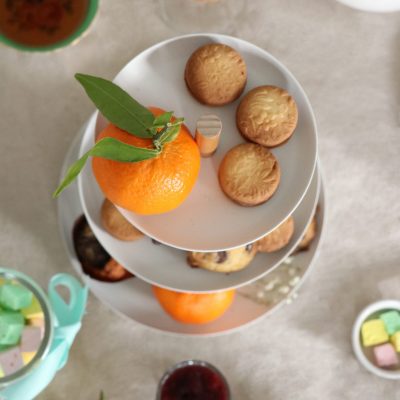
agencement

6 –  The etiquette

In order to make the tea time etiquette become a real child’s play, do not hesitate to make a bet on those who might forget to respect these few rules!

MAMIE’S TIP

Do’s

  • Try some of each food served at tea time;
  • Spread on the scone first the cream, then the jam;
  • Put your napkin on the chair if you have to leave temporarily the table during the event.

Don’ts

  • Do not place your napkin on the table until you are ready to leave the table;
  • Do not put on the table things that are not related to tea time (phone, glasses, keys);
  • Do not leave your spoon in the cup, place it on the saucer.
How do you temper chocolate?

How do you temper chocolate?

How many times has doubt crept into your mind while standing before a pot of melted chocolate, and you wonder why it isn’t as smooth and shiny as in the magazine photos? Or why, when adding cream, does it get all lumpy?

Like bread, you only need a few ingredients to make chocolate…but, again, it’s an art to work on it! With Easter on the horizon, Mamie will share her knowledge on how to make a perfect chocolate that will be a definite success. 

Whether you are an amateur in the art of pastry or a true professional like Mamie, it just so happens that chocolate is an ingredient that shows up a lot in your recipe books. Most of the time, it is not very important that the chocolate look perfect since it will be incorporated into a cake or a mousse. However, if you would like to make chocolate eggs or any other chocolate creation, it is essential to know the basics of tempering.

Chocolate

Most chocolate are made up of a cocoa paste (percentages vary), cocoa butter, and sugar. Dark chocolate is composed of these 3 ingredients. Powdered milk is added to this mixture to produce milk chocolate. This gives the chocolate a mildest flavor and lightens the color. As for white chocolate, it is made up of only cocoa butter, sugar, and powdered milk, so there is no cocoa paste in it.

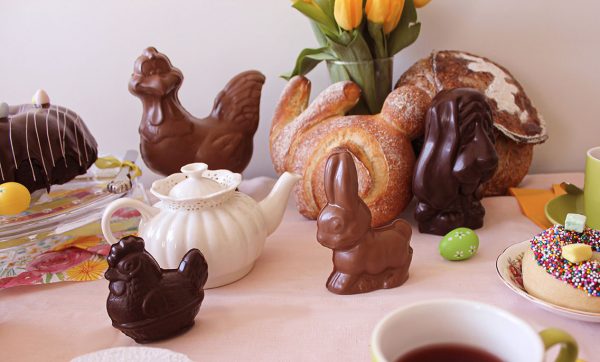
moulage de paques retouchés 200

What does it mean temper chocolate and why is it important?

Tempering chocolate consists in crystallizing the cocoa butter contained in it to give it a more stable form, thus making it easier to work.

Simply put, when tempering, you:

  1. Destroy all the crystals by heating.
  2. Force only the creation of good crystals by letting the chocolate cool.
  3. Bring the chocolate back up to a working temperature without destroying the good crystals.

This step allows it to reach an ideal working temperature.

By doing this, your chocolate will have a nice sheen and be perfectly crisp.

Without following these steps, it will most likely come out soft and marbled. When this happens, it’s a sure sign that the cocoa butter did not totally incorporate and is coming out in spots (traces of white). This does not mean that your chocolate is moldy.

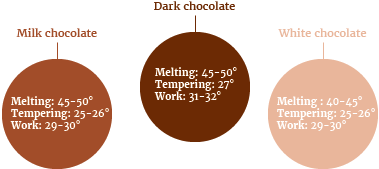
Difference in temperature curves according to the chocolate

Chocolate is not necessarily composed of the exact same ingredients, so the crystallization curve changes according to the “color.” No worries, most of the time this information is indicated on the packaging.

As you can see, temperatures should be observed to the nearest degree, so you will need a thermometer (quality probe or laser).

Example of tempering milk chocolate using a bain-marie

Place the chocolate in a bain-marie and melt it, stirring regularly, until it reaches a temperature of 45-50°C. Once all the crystals are melted, it is possible to start tempering.

Take it off the heat and let it cool (continue stirring) until it reaches 25-26°C.

Stir every 30 to 60 seconds and control the temperature regularly. This step depends a lot on the volume of the melted chocolate and the temperature in the room, and could take up to ten minutes. After a few minutes, you will see the chocolate start to solidify on the sides of the bowl or on your spatula.

Once it has cooled, you can put it back in the bain-marie for a few minutes, until it reaches its crystallization temperature of 29-30°C. Now it is ready to be worked.

MAMIE’S TIP

Chocolate can be stored for up to a year without losing its qualities if certain rules are followed. Store it preferably in a cupboard away from humidity, light, and temperature fluctuations.

How to keep a tempered chocolate at the right temperature

Unlike professional chocolatiers, it is rare for the average person to have a chocolate tempering machine at home. So, Mamie has a couple tips for you to keep your chocolate at working temperature.

  • Bain-marie: you will have to constantly keep a close eye on the temperature of your chocolate when using a bain-marie. Be careful, this method heats the container, and not the chocolate directly; with the conductivity of the container, the chocolate may continue to heat and unfortunately pass 30°C. If that happens, you will have to start the tempering process over, so stay focused.
  • Hair dryer: a technique that is regularly used, since, unlike the bain-marie, it heats the chocolate directly and it is easier to measure the amount of heat being applied.
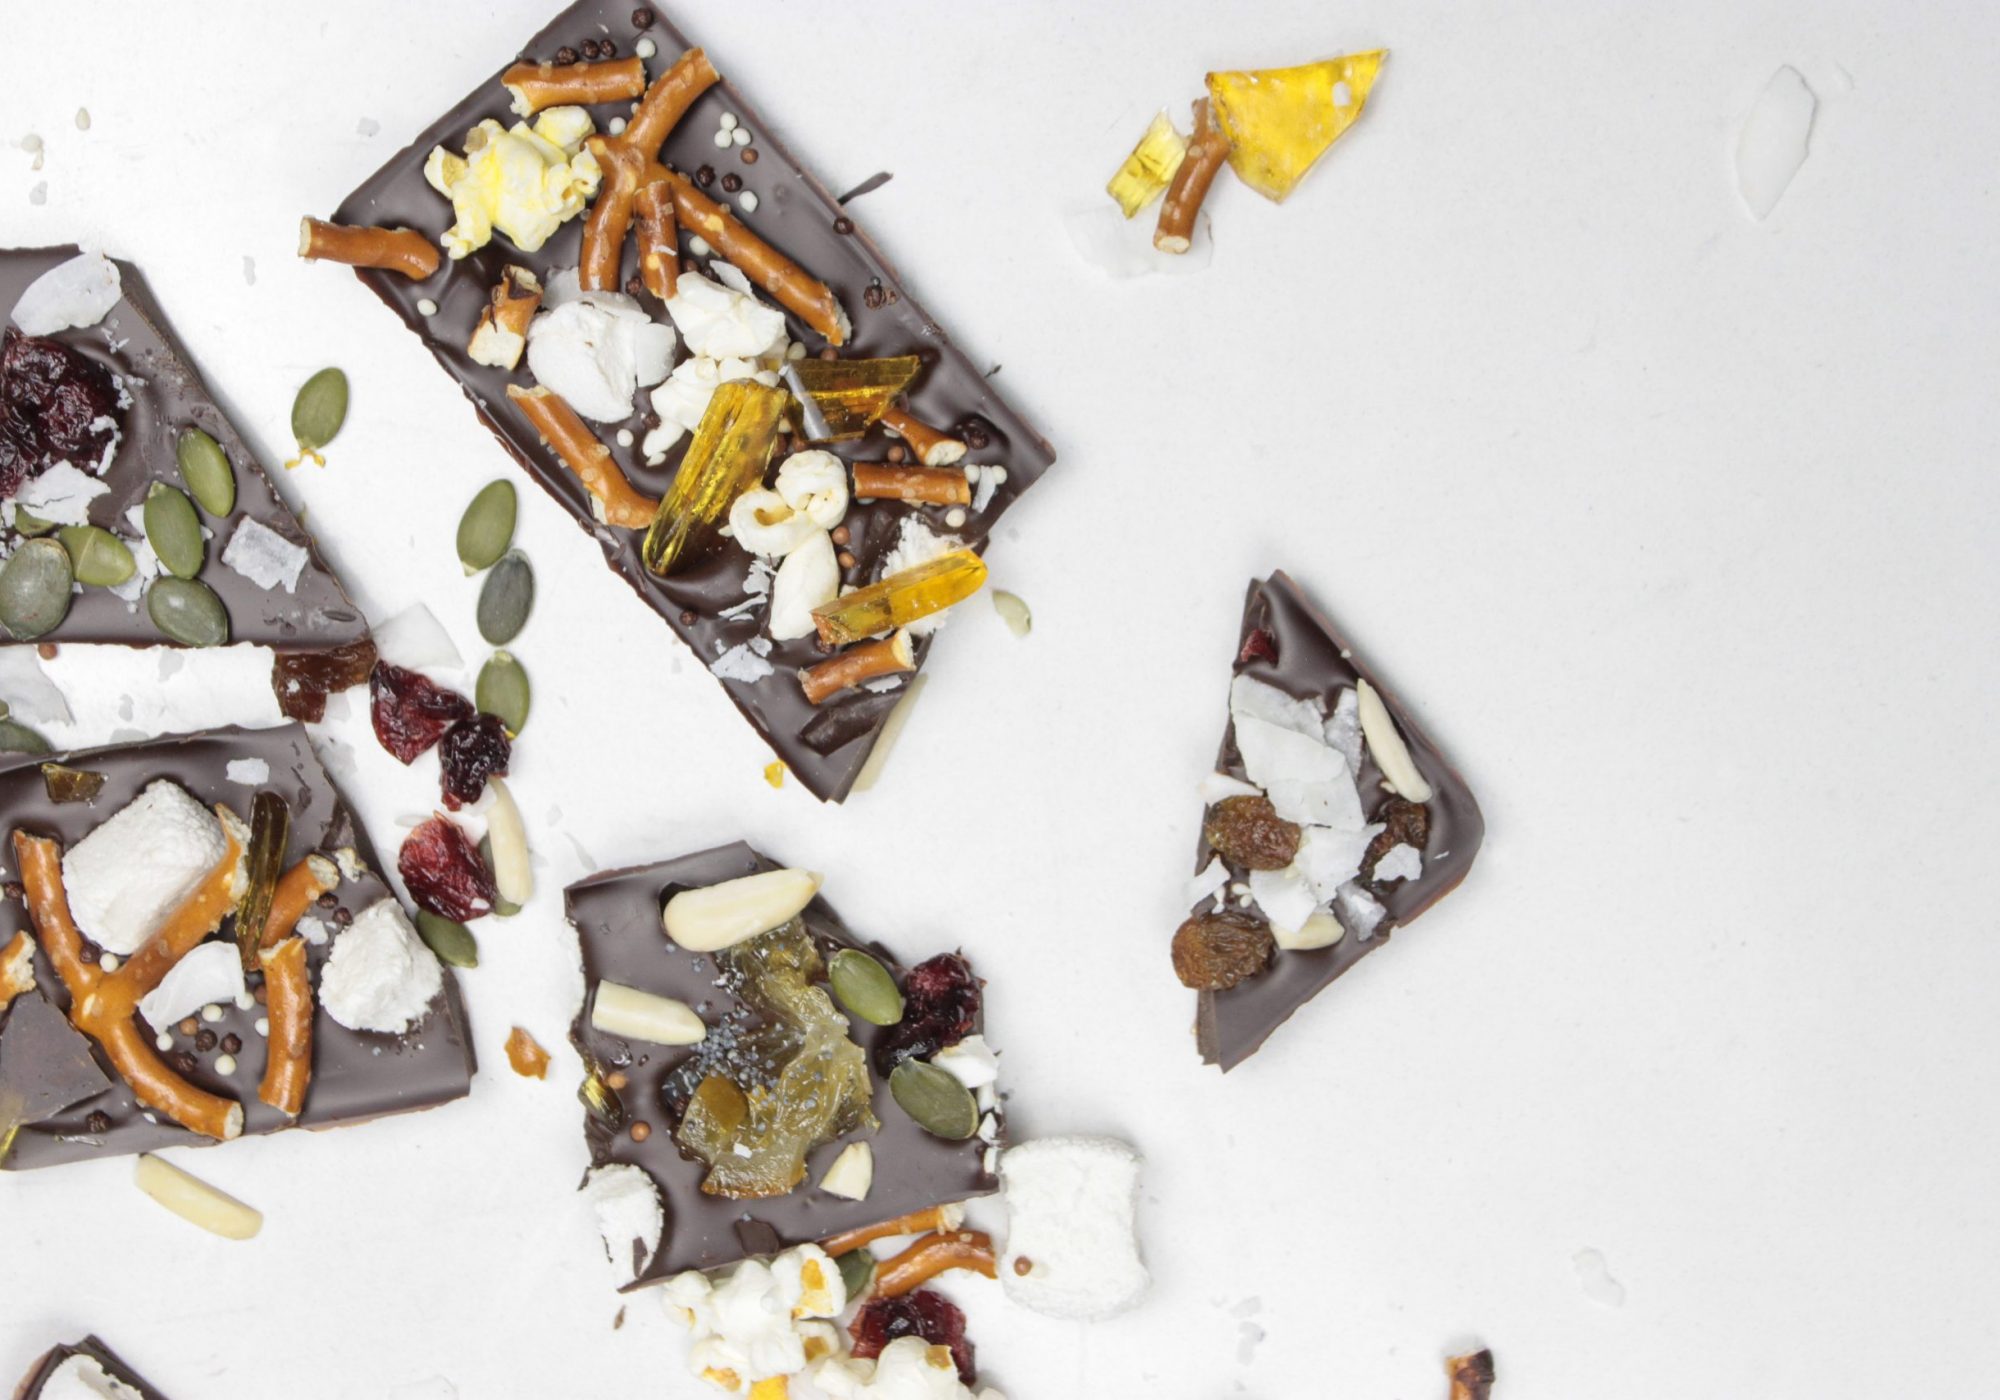
plaques choco retouchée

Now that tempering chocolate is no longer a secret to you, Mamie has a few pairing suggestions for your own homemade chocolate bars.

  • Marshmallows + malted milk balls
  • ChocoRocks + crepes dentelle
  • Flowers + honey
  • Maple syrup + pretzels
  • Rice, puffed quinoa or wheat + salted caramel
  • Colored jujubes + peanut butter
  • Butter cookies + flower of salt
  • Candied lemon + poppy seeds
  • Walnut + raisin
  • Dried cranberry + pumpkin seeds + coconut

Be careful if you want to conserve your chocolate bars, it is not advisable to incorporate ingredients that hold water like fresh fruit or flowers; this will make your bar go bad in just a few days’ time.

MAMIE’S RECIPE

barre choco 1-2
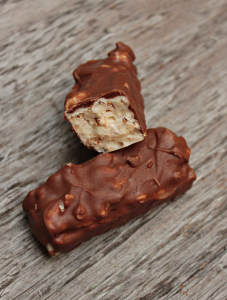
Milk, cereal and chocolate bar

Ingredients – for 3 bar

– 1 cup white chocolate

– 2 teaspoons puffed brown rice

– 2 teaspoons puffed quinoa

– 2 teaspoons rye flakes

– 2 teaspoons rolled oats

– 1 cup milk chocolate

Preparation 

Slowly heat, in a bain-marie, the white chocolate (careful, white chocolate is difficult to work). Add the cereals.

Pour the mix into financier molds. Leave in the fridge to harden.

When the bars are hard, take them out of the molds.

Slowly melt the milk chocolate.

Using a basting brush, smear the chocolate on the bars and put them back into the fridge to harden.

If you want a nice smooth outer layer, apply a second layer of milk chocolate, but this time using a small spatula.

Keep refrigerated.

Let’s talk about the Maple Syrup

Let’s talk about the Maple Syrup

Maple syrup is an iconic Canadian product with origins dating back to Native Americans times. Stemmed from maple cultivationQuebec is one of the largest producers in the world with more than 74% of production in la belle province. 

Mamie tells you more about this unrefined sugar product! 

A little bit of history

Several Native American legends dispute the discovery of maple syrup.

The virtues of maple syrup 

A great source of antioxidants 

Maple syrup is one of the only sugars to contain antioxidants in significant quantities (3 to 5 times more than honey). A 60 ml has an antioxidant capacity comparable to a part of broccoli. This is due to manganese, which is involved in cellular protection, but also to polyphenols which help reduce the risk of type 2 diabetes, obesity, and cardiovascular disease. 

A natural and allergen-free product 

Made from maple sap only, maple syrup has not undergone any transformation, apart from cooking, and contains no coloring or additives. Quebec maple syrup producers all sign a declaration of non-use of allergens during the manufacturing process, thus guaranteeing a product that can be consumed by all. 

 Less calories than sugar 

Composed of 32% of water and 68% of carbohydrates, maple syrup is much better than traditional sugar. For an equal amount of sugar, the energy value of maple syrup is 1/3 less calories. 


MAMIE’S TIP

It is important to always read the label carefully because the words “maple flavor” do not constitute a guarantee that the product contains maple syrup! Once opened, it is best to put maple syrup in the fridge or even in the freezer to delay evaporation and crystallization. 

What are the differences between maple syrups? 

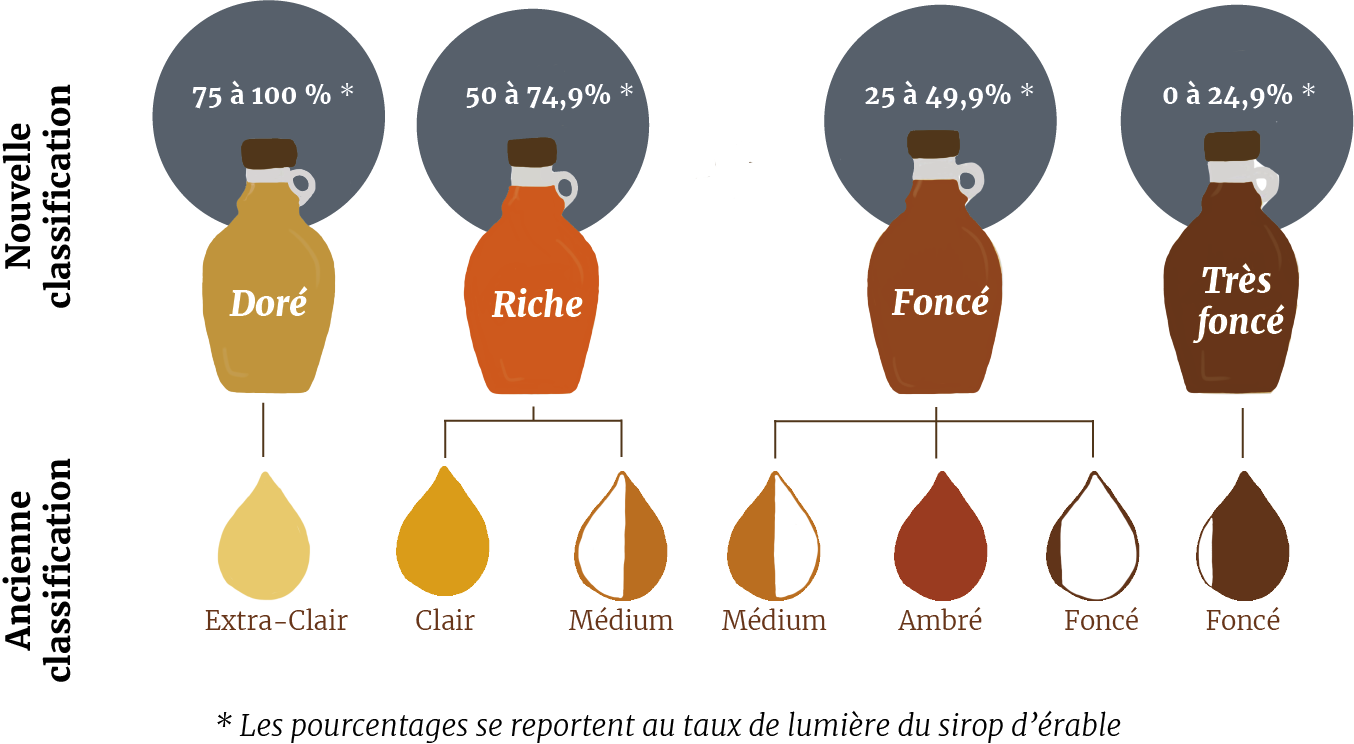
These many virtues, mentioned above, are obviously found in the 2 main categories of maple syrup. Here are the main characteristics: 

Since December 2017, a new classification has been implemented by the International Maple Syrup Institute for companies who are selling only in Quebec. 

Extras 

We all know how delicious maple syrup tastes on pancakes, but most of us ignore its beauty benefits. Its antibacterial (like honey), antioxidant and anti-inflammatory properties (thanks to polyphenol), make it the ideal ingredient for healthy skin and preventing aging. 

Gentle exfoliation: maple sugar facilitates exfoliation while allowing the dermis to retain as much water as possible at the top of the skin, making it less abrasive than most of the other “granules” found in scrubs. 

Shiny hair: hydrate your dry, dull hair with the benefits of a maple syrup hair mask. 

The ultimate hydration: after exfoliation, use a maple syrup mask to reduce inflammation of the skin, redness, blemishes, and dryness. 

MAMIE’S RECIPE

Brie sandwich with bacon, and caramelized onions in maple syrup  

Ingredients – for 4 persons 

– 8 slices of Mamie Clafoutis’ milk bread  

– 8 slices of brie  

– 50 gr cooked bacon  

– 2 sliced onions  

– 2 teaspoons of maple syrup  

– 2 tablespoons red wine vinegar 

Preparation 

Start by caramelizing your onions. For this, heat a large skillet over medium heat and sauté the onions in olive oil with salt until soft and golden.  

Add maple syrup, vinegar, and let caramelize. Once cooked, set aside.  

To make the sandwiches, butter the bread on both sides and garnish with onions, brie and bacon.  

Place them in a panini grill, until they are golden and hot. You can serve immediately! 

So, Mamie… how is your flour made?

Day in the fields

So, Mamie... how is your flour made?

When you read the signs describing our bread in the store, or ask for clarifications on our flours, you may have already wondered: “What is Mamie’s mix?” or “Why is it mentioned so often at Mamie’s?” or “What mill produces their flour?” Mamie is going to reveal all her secrets (well, almost all of them), like how a flour blend is made for a bakery, and more specifically for Mamie Clafoutis.

Before Joseph and Nicolas opened their l’Ile-des-Soeurs location, one of things on the top of their to-do list was to find a mill in Quebec that produced organic flour and which was able to create a blend that was made expressly for them. Quite the tall order! The La Milanaise mill, in the Eastern Township town of Milan, accepted the challenge, and from that moment, the long process of elaboration began.

Grain de blé

1. Defining expectations

This first step outlined the characteristics needed to make the ideal mix. What Mamie wanted was an organic flour, rich in nutrients, with a specific flavor and which allowed them to manufacture bread with a dense crumb.

2. Carrying out several tests

Once expectations were established, the millers looked at their database to determine which wheat varieties could possibly be used to make the blend and, at the same time, fulfill all the desired criteria.

To create a flour and, more particularly, the tests that will make the blend come to fruition, it is preferable to assemble several varieties of wheat. This makes it possible to really stabilize the blend from one year to the next, or even one harvest to the next.

Think about it. If Mamie didn’t have her own wheat variety in her flour, and if meteorological conditions turned bad one year and didn’t give us a big enough harvest, or the quality was somehow compromised… we wouldn’t be able to propose a mix that is always consistent. This is a good illustration of «not putting all your eggs in one basket.»

Focus on wheat varieties

There are hundreds, maybe even thousands, of wheat varieties, which are assorted into 2 big families:

. Winter wheat (planted in September and harvested in August)

. Spring wheat (planted in April and harvested in September).

It is important to know that, until recently, winter wheats didn’t exist in Quebec; only spring wheats were harvested.

Seed companies are the ones who develop new varieties and it takes on average 12 years to truly perfect one. Once it can be harvested, it goes into the renowned database along with all the other varieties.

Angus-site-5


DID YOU KNOW?

It happens from time to time that the dough takes on a slight aroma of grass, flowers or even cinnamon during kneading. This phenomenon occasionally occurs in organic production when green manures are sown in the wheat. Different varieties of clover are thus used as green manure (Alsike clover, Ladino clover or white sweet clover); these clover plants fix nitrogen from the atmosphere in the soil, thus providing a very good source of natural fertilizer and improved protein quality. At harvest time in early August, if there is heavy dew, sometimes the floral aromas are transmitted to the wheat. This odor can be detected during kneading.


3. Test results

After several tests, La Milanaise was ready to present six blends that could potentially be suited to Joseph and Nicolas’s needs.

Three days were needed to test all of them out. It was absolutely necessary to use them in every step of breadmaking so as to verify the quality of the product. And from the six, they picked a winner!

4. Flour production and quality checks

Made up of seven different types of wheat, (four winter – three spring), Mamie’s mix was then grown in large quantities to be utilized in the shops.

And every year, new tests must be carried out to check the consis-

tency of our flour from one field to the next.

Among all who get their products from La Milanaise, we are lucky enough to have a blend especially created for our signature flour. It is an extremely rare privilege and we are very happy that La Milanaise has followed us for such a long time now.

IDS-5-site

Summing up the advantages of Mamie’s mix:

> local

> healthy

> exclusively made

> organic

> stable finished product

> small production

All our bread is made using this mix, expect for our spelt bread, the “carré de blé intégral”, “le carré de blé intégral tournesol” and “la miche au khorasan.”